(Created page with "{{ArticleIcons|ssb4=y}} ==Overview== {{competitive expertise}} ==Hitboxes== {{SSB4HitboxTableHeader}} {{SSB4HitboxTableRow |id=0 |damage=3% |angle=43 |bk=60 |ks=25 |fkv=0 |r=...") |
(Description added.) Tag: Mobile edit |
||
| (One intermediate revision by one other user not shown) | |||
| Line 1: | Line 1: | ||
{{ArticleIcons|ssb4=y}} | {{ArticleIcons|ssb4=y}} | ||
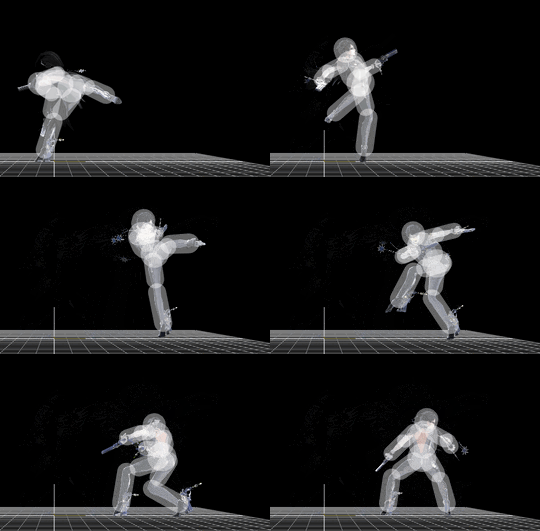
[[File:BayonettaFTilt2SSB4.gif|thumb|270px|Hitbox visualization showing Bayonetta's forward tilt 2.]] | |||
==Overview== | ==Overview== | ||
After [[Bayonetta (SSB4)/Forward tilt/Hit 1|her first kick]], she performs another forward kick that’s slightly angled up. Part of her '''Consecutive Kicks''' move. It is then succeeded by her [[Bayonetta (SSB4)/Forward tilt/Hit 3|next hit]]. This attack’s [[hitbox]] only appears for one frame. | |||
==Hitboxes== | ==Hitboxes== | ||
{{SSB4HitboxTableHeader}} | {{SSB4HitboxTableHeader}} | ||
Latest revision as of 16:29, January 14, 2021
OverviewEdit
After her first kick, she performs another forward kick that’s slightly angled up. Part of her Consecutive Kicks move. It is then succeeded by her next hit. This attack’s hitbox only appears for one frame.
HitboxesEdit
TimingEdit
| Hitboxes | 12 |
|---|---|
| Earliest continuable | 16 |
| Interruptible | 40 |
| Animation length | 62 |
| Lag time |
Hitbox |
Earliest continuable point |
Interruptible |
