SSB4 Icon.png

Zelda (SSB4)/Up special/Default: Difference between revisions

From SmashWiki, the Super Smash Bros. wiki
Jump to navigationJump to search
(added missing category)
No edit summary
Line 1: Line 1:
{{ArticleIcons|ssb4=y}}
{{arrange|float=right|w=2|h=2
{{disambig2|the hitbox visualization in ''[[Super Smash Bros. 4]]''|the move itself|Farore’s Wind}}{{arrange|float=right|w=2|h=2
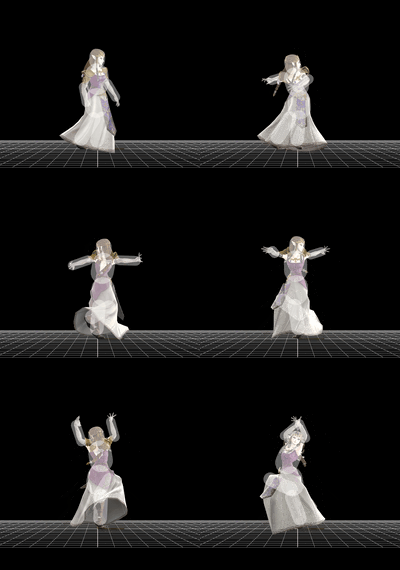
|[[File:ZeldaFaroresWindG1.gif|thumb|200px|Hitbox visualization showing Zelda's grounded Farore's Wind's initial hit.]]
|[[File:ZeldaFaroresWindG1.gif|thumb|200px|Hitbox visualization showing Zelda's grounded Farore's Wind's initial hit.]]
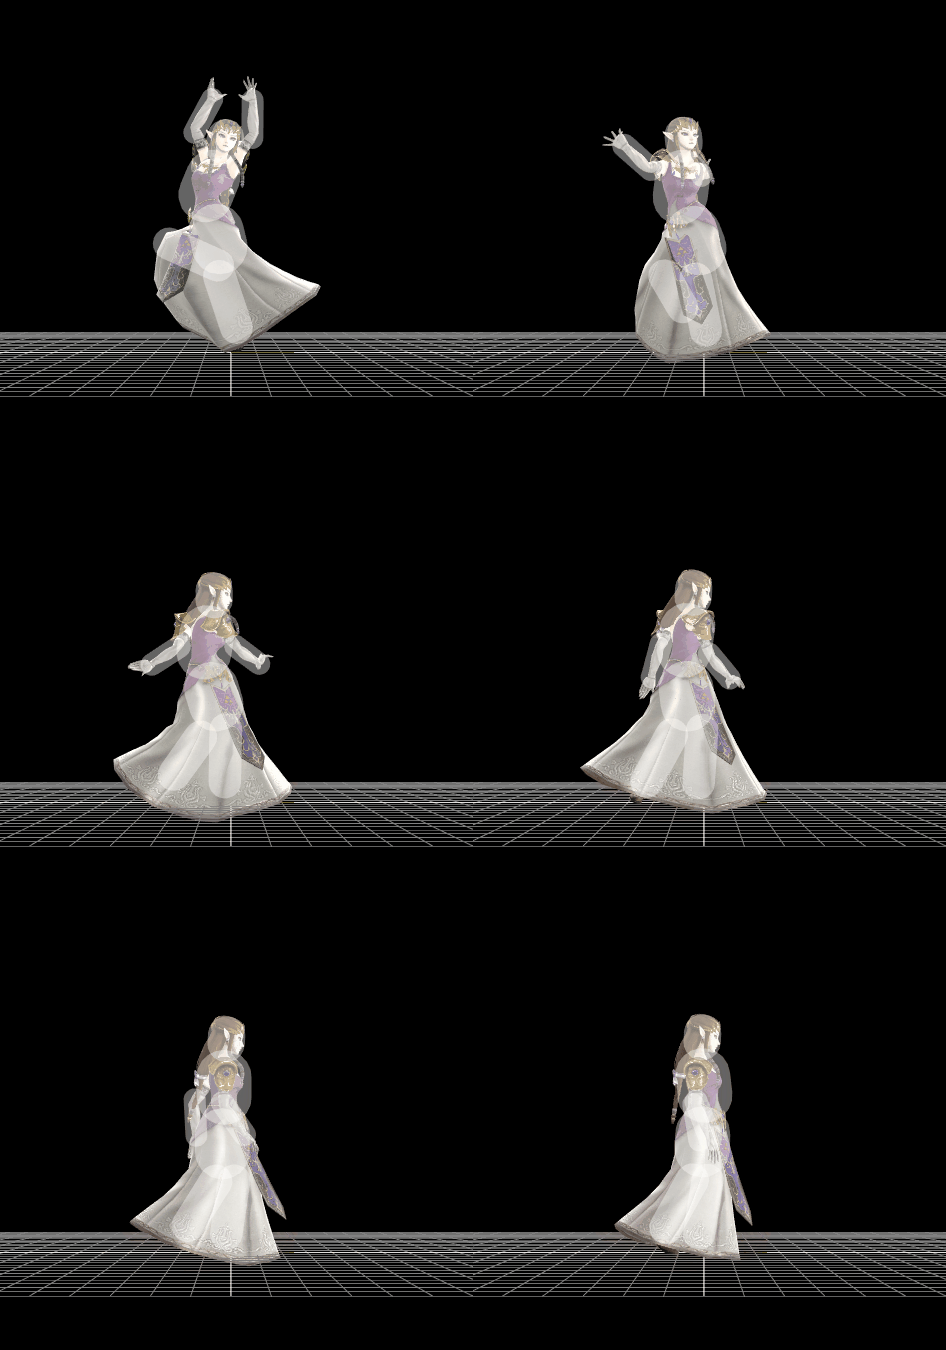
|[[File:ZeldaFaroresWindG2.gif|thumb|200px|Hitbox visualization showing Zelda's grounded Farore's Wind's final hit.]]
|[[File:ZeldaFaroresWindG2.gif|thumb|200px|Hitbox visualization showing Zelda's grounded Farore's Wind's final hit.]]
Line 157: Line 157:
{{MvSubNavZelda|g=SSB4}}
[[Category:Zelda (SSB4)]]
[[Category:Zelda (SSB4)]]
[[Category:Special attacks (SSB4)]]
[[Category:Special moves (SSB4)]]
[[Category:Up special moves (SSB4)]]
[[Category:Up special moves (SSB4)]]

Revision as of 15:19, May 17, 2020

This article is about the hitbox visualization in Super Smash Bros. 4. For the move itself, see Farore’s Wind.
Hitbox visualization showing Zelda's grounded Farore's Wind's initial hit.
Hitbox visualization showing Zelda's grounded Farore's Wind's final hit.
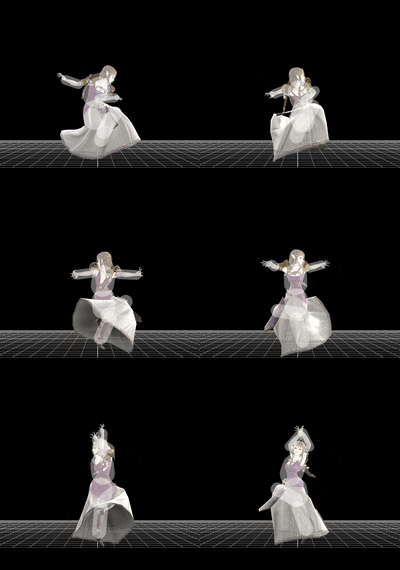
Hitbox visualization showing Zelda's aerial Farore's Wind's initial hit.
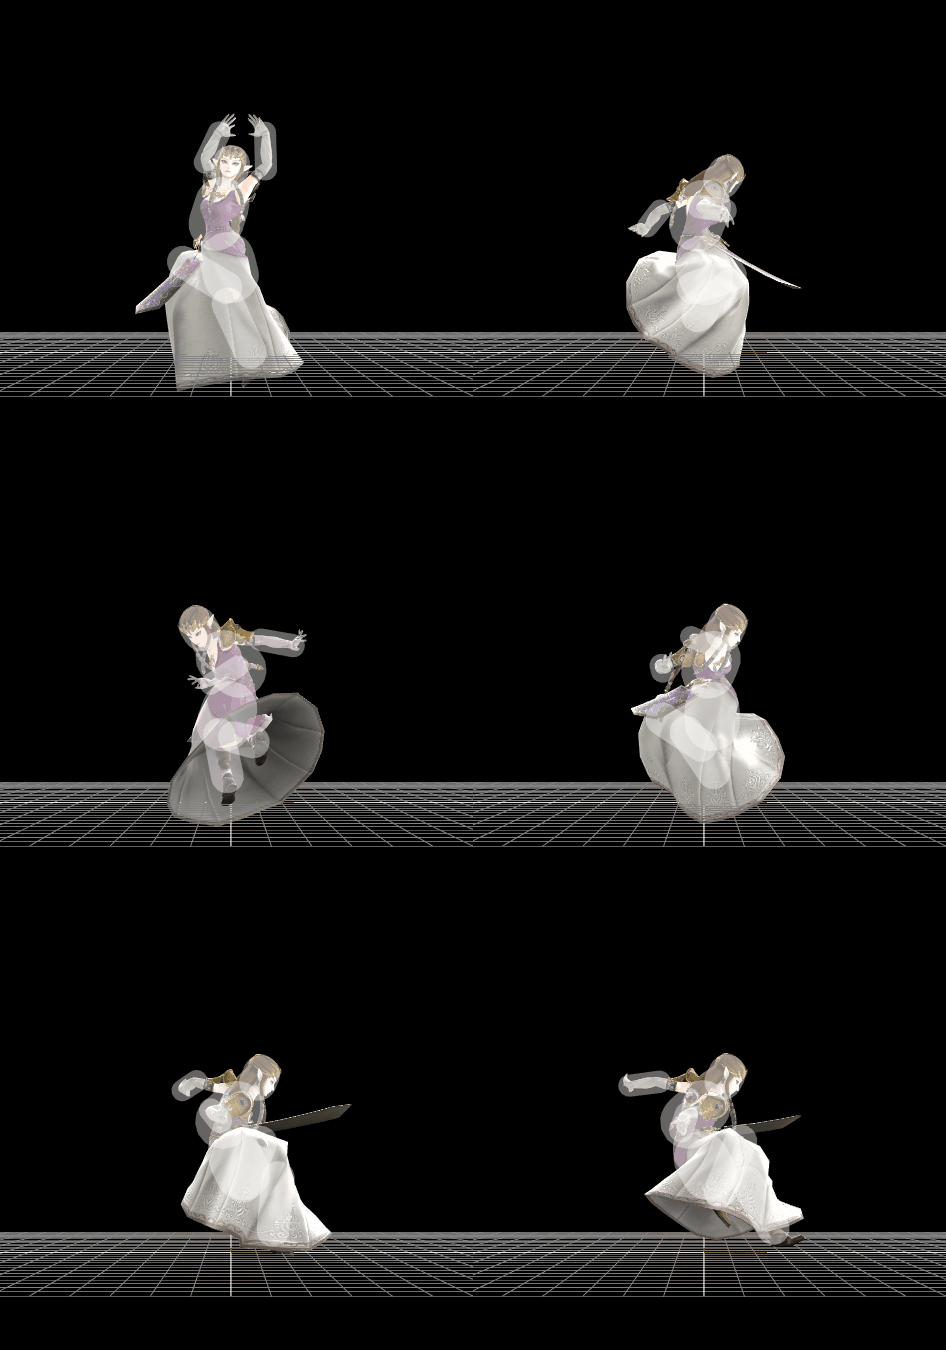
Hitbox visualization showing Zelda's aerial Farore's Wind's final hit.
Competitive.png This article or section may require competitive expertise.
You can discuss this issue on the talk page or edit this page to improve it.
Data.png This article or section may require additional technical data.
You can discuss this issue on the talk page or edit this page to improve it.

Hitboxes

Ground

ID Part Damage SD Angle BK KS FKV Radius Bone Offset SDIx T% Clang Rebound Type Effect G A Sound Direct
Initial hit
0 0 6% 0 AngleIcon91.png 118 30 0 8.0 0 0.0 6.0 -4.0 1.0x 1.0x 0% HitboxTableIcon(Clang).png HitboxTableIcon(NoRebound).png TypeIcon(Magic).png EffectIcon(Slash).png HitboxTableIcon(GroundedTrue).png HitboxTableIcon(AerialTrue).png M Slash SpecialsDirect.png
Ending hit
0 0 10% 0 Sakurai angle 90 90 0 10.0 2 0.0 0.0 0.0 1.0x 1.5x 0% HitboxTableIcon(Clang).png HitboxTableIcon(NoRebound).png TypeIcon(Magic).png EffectIcon(Slash).png HitboxTableIcon(GroundedTrue).png HitboxTableIcon(AerialTrue).png L Slash SpecialsDirect.png
1 0 7% 0 Sakurai angle 70 90 0 15.0 2 0.0 0.0 0.0 1.0x 1.2x 0% HitboxTableIcon(Clang).png HitboxTableIcon(NoRebound).png TypeIcon(Magic).png EffectIcon(Slash).png HitboxTableIcon(GroundedTrue).png HitboxTableIcon(AerialTrue).png M Slash SpecialsDirect.png

Air

ID Part Damage SD Angle BK KS FKV Radius Bone Offset SDIx T% Clang Rebound Type Effect G A Sound Direct
Initial hit
0 0 6% 0 AngleIcon80.png 60 100 0 10.5 2 0.0 0.0 0.0 1.0x 1.0x 0% HitboxTableIcon(Clang).png HitboxTableIcon(NoRebound).png TypeIcon(Magic).png EffectIcon(Slash).png HitboxTableIcon(GroundedTrue).png HitboxTableIcon(AerialTrue).png M Slash SpecialsDirect.png
Ending hit
0 0 12% 0 AngleIcon55.png 90 90 0 11.0 2 0.0 0.0 0.0 1.0x 1.5x 0% HitboxTableIcon(Clang).png HitboxTableIcon(NoRebound).png TypeIcon(Magic).png EffectIcon(Slash).png HitboxTableIcon(GroundedTrue).png HitboxTableIcon(AerialTrue).png L Slash SpecialsDirect.png
1 0 8% 0 AngleIcon55.png 70 90 0 16.0 2 0.0 0.0 0.0 1.0x 1.2x 0% HitboxTableIcon(Clang).png HitboxTableIcon(NoRebound).png TypeIcon(Magic).png EffectIcon(Slash).png HitboxTableIcon(GroundedTrue).png HitboxTableIcon(AerialTrue).png M Slash SpecialsDirect.png